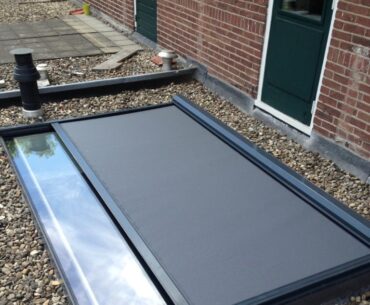
Explanation: walkon glass against a wall or facade
We are often asked how best to integrate walkable glass or a rooflight into the (roof) terrace or against the facade. This construction to bring light into the floor below is also called a walkon wall abutment.
What should you pay attention to and how do you get this watertight? In this article, we take a closer look at this.
Providing daylight to the space below should not coincide with leakage. So how do you get such a rooflight fixed against the facade in a watertight way? Sometimes it is simple and there is room for kerbs on all sides. The rooflight falls over this like a lid. Then it’s just a matter of working it into the decking as flush as possible. But sometimes the architect designs the glass against the facade or a wall, and even then you want a solid and watertight construction. In this article, we explain how a wall attachment works and when it is better to opt for another solution.
What is a wall abutment?
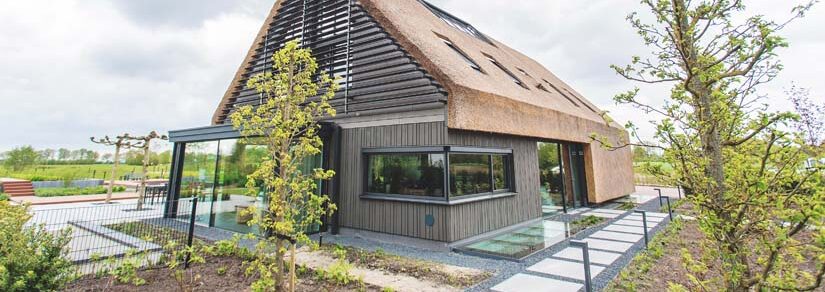
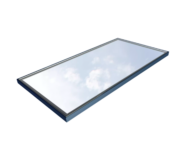
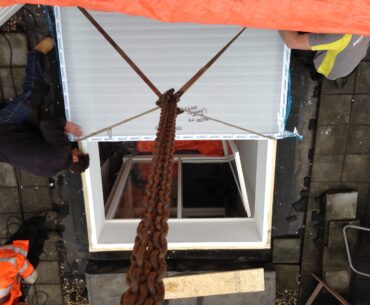
We can supply rooflights and walkon glass with a wall abutment on a maximum of three sides, where the glass is attached directly to the wall, so it does not need to fall across a kerb. This construction ensures watertight fastening with a Sky Only View from inside. Example project below shows how a multi-piece rooflight is fastened between three walls by use of a so-called ‘wall abutment’.

Other common situations in which a wall abutment is applied:
- A rooflight in an extension of a house: using the wall abutment the rooflight can be fastened directly to the wall, causing a lot of daylight flowing directly into the extension.
- A narrow rooflight as a connection between two buildings.
- A smaller terrace in which every centimetre counts and where there is too little space for kerbs all around.
- A light well that allows light to flow in into the floor below.
Watertight construction: no leakage
Let’s take a look at the details of this construction. In drawing below one can see that where normally a rooflight or walkon glass would fall across four kerbs, in the case of a wall abutment only three raised edges are required, because on one side the glass is directly fastened to the facade/wall by use of the wall abutment.

In order to ensure proper drainage, a slight inclination of 1 degree is required for walkon glass and at least 3 degrees for a common rooflight. That drainage is also the reason that a wall abutment can be applied to no more than three sides: Otherwise the water couldn’t be drained at all.
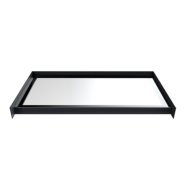
Example below shows what a wall abutment looks like: the frame contains a larger profile that protrudes at the top and the sides to make it possible to properly fasten it.
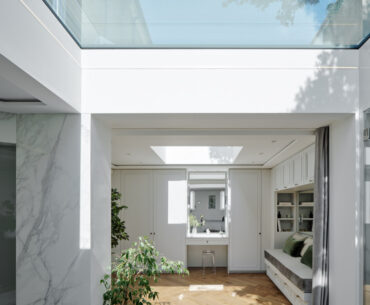
After installation the frame is decently covered by use of the interior work, so that only the glass remains visible: the Sky Only View.

When zooming into this, we can see that this extra space is 150 mm on the side and 105 mm at the top. In addition, the contractor will apply lead flashing on top of this 105 mm to guarantee water tightness. These sizes can vary per project between 100-170mm depending on the size of the rooflight, we are happy to calculate what this size is for your product.

After installation the frame is decently covered by use of the interior work, so that only the glass remains visible: the Sky Only View.

When is a wall abutment not being used?
A wall abutment is a safe, qualitative solution, but sometimes the required extra space on the sides and op top of the frame, is not available. For example in situation below: here, a rooflight of walkon glass for a glass facade is being applied, where there was no height available to fasten the wall profile.

Alternative solution: walkon glass on four kerbs all around
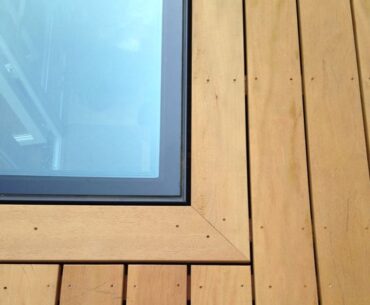
In this situation it was chosen after all to use four kerbs all around, sunken in the concrete floor, so that the rooflight of walkon glass will be situated flush with the eventual terrace floor. Important condition here, is that the drainage is well taken care of to prevent the gutters from filling with water.
By making use of four kerbs, the walkon glass can be applied flush, with this magnificent end result, where wooden parts, tiles and a grid are variedly applied to be able to control the water drainage:

Other example: a wall abutment made of walkon glass
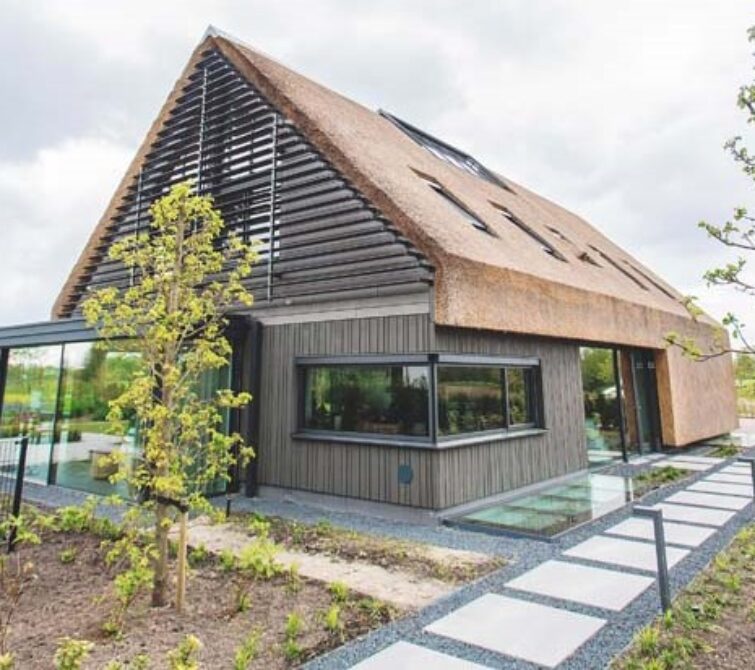
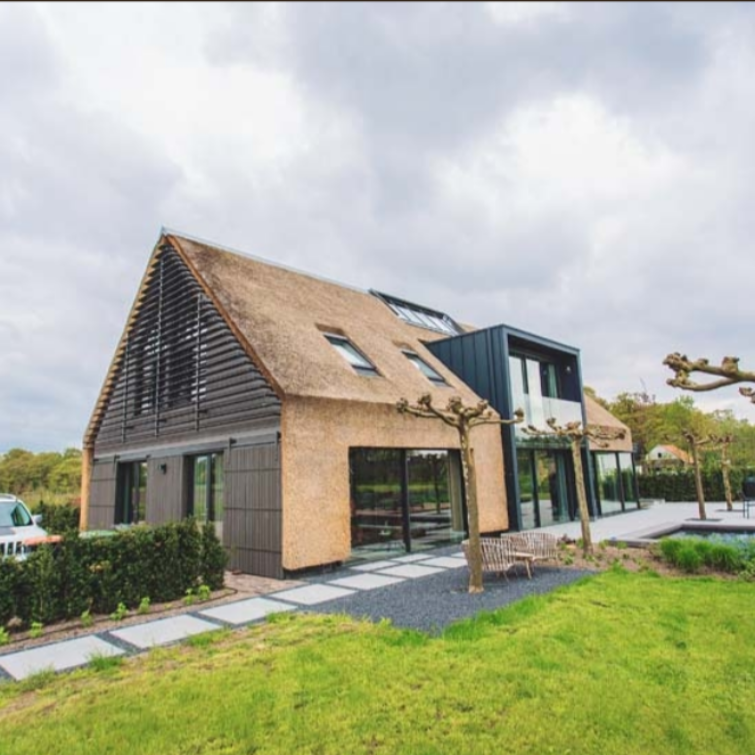
In this example two rooflights of walkon glass are installed as a light well for this remarkable villa. In this situation height is available, just as space on the sides for the wall profile. With the wall abutment on one of the long sides, the walkon glass can then easily be fastened to the facade. During the finishing of the terrace, the terrace floor will be at the same level with the glass parts again. This causes a great effect from the outside, while inside it ensures a huge amount of daylight and a more pleasant living environment.
With this beautiful outcome (executed by Koelewijn Bouw):
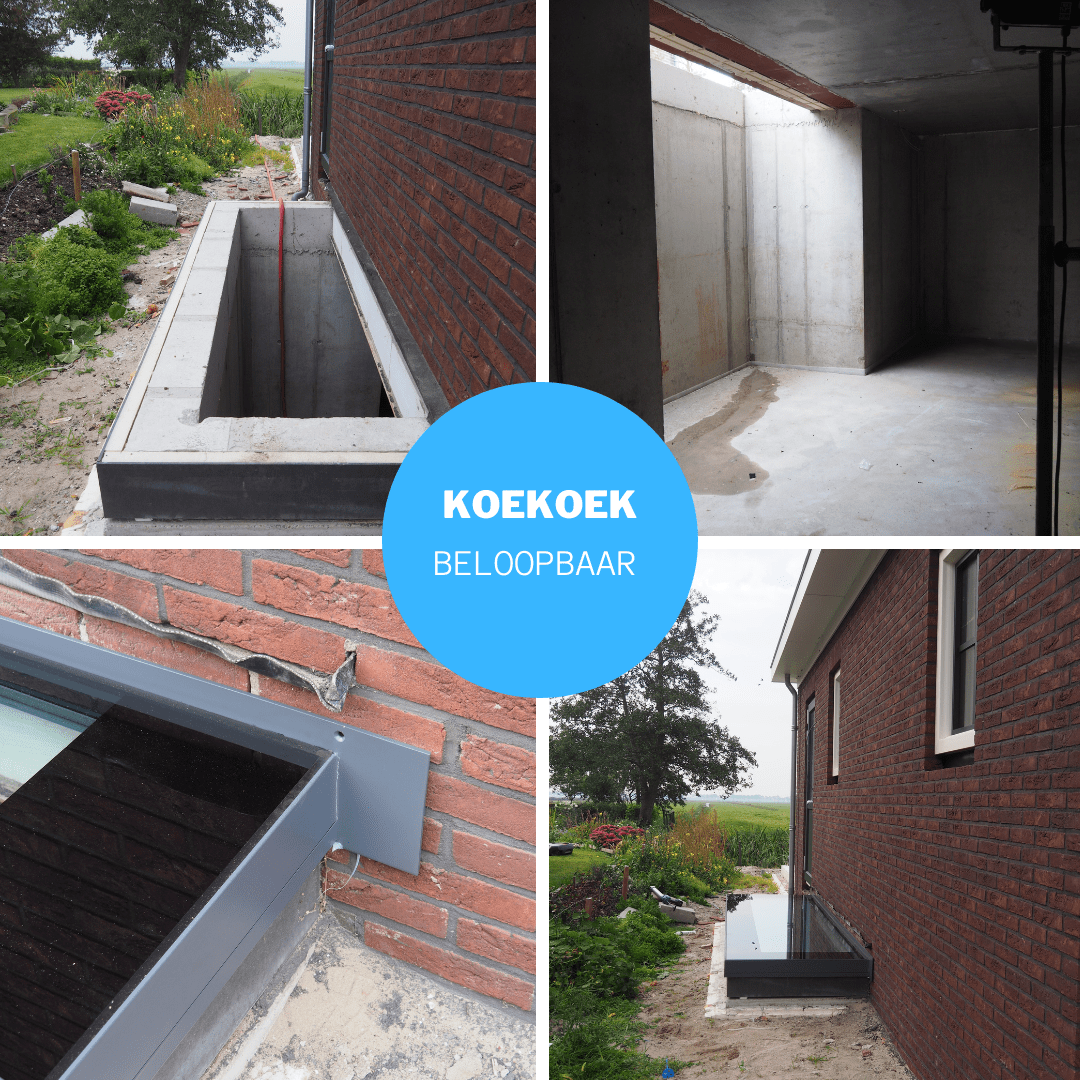
A walkon wall abutment brings lots of light into the basement
Another example where a wall abutment of walkable glass is installed with a wall attachment. This allows enormous amounts of daylight to enter the basement below.
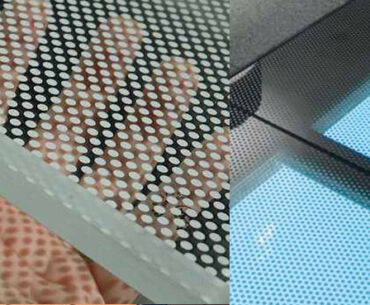
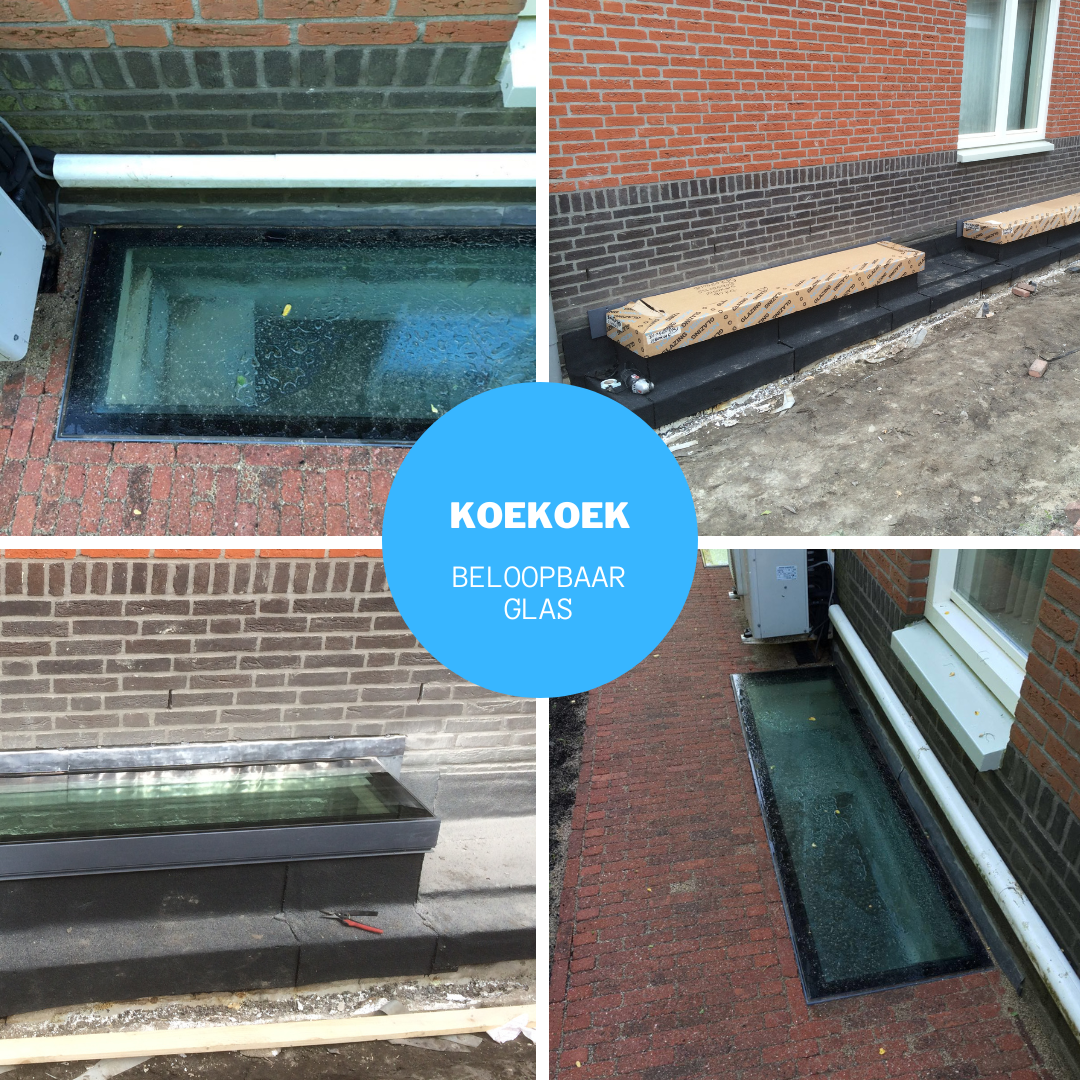
At a later stage, the garden/terrace is finished at the same height as the accessible glass. Here it is important that there is a small distance between the tiles/terrace and the frame. We also recommend laying a narrow edge of gravel along the kerb for faster drainage. The photo collage above shows the profile of the wall attachment slightly above and to both sides. So this space should be available on the facade. The lead flashing raised during installation falls over the wall attachment to make it properly watertight.
Walkon wall abutment on streetlevel
In order to get the walkable glass of the wall abutment flush to street level, a kerb was placed on the concrete edge in the project below. According to specification, the kerb (and here also the concrete edge) was embedded with roofing material. There is a small gap between the tiles that were subsequently installed at the same level as the glass. The drainage of the wall abutment and the path is controlled so that no water remains.
More inspiration? Take a look at the pictures of a walkon wall abutment
Discover the products in this article
Blog
With endless possibilities, it is helpful to find the right inspiration. Below you can see all our realized and possible solutions in one overview.
View all